
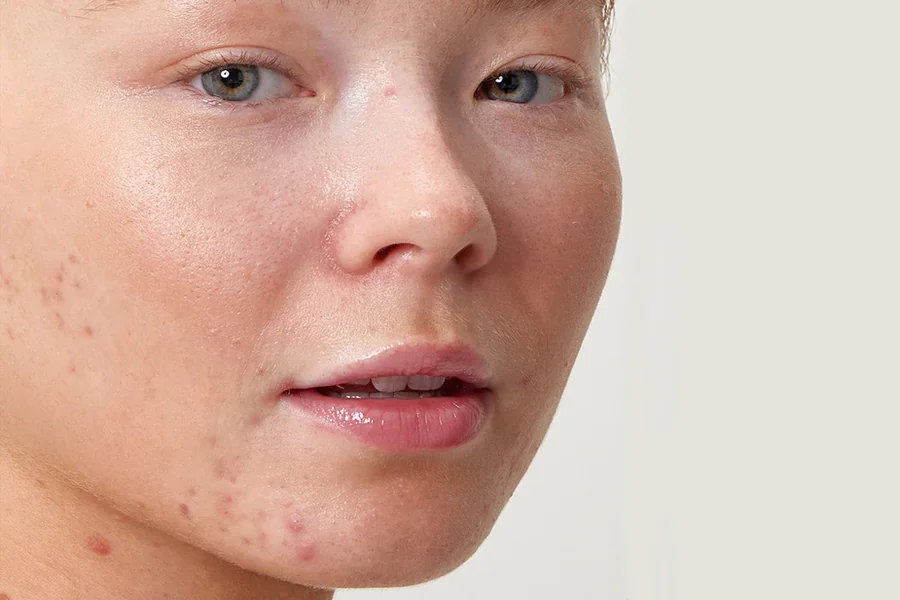
Having an acne breakout does not mean that you can’t feel the joy of wearing makeup. No need to skip makeup altogether after having acne breakouts. You can most probably wear makeup to make yourself feel comfortable while heading out for any special occasion.
It mostly matters on how you prep your skin before doing makeup. You must be well aware about how to layer your skincare in order to prevent irritation. Basically you must know to layer a pimple gel beneath the makeup.
It matters a lot because sometimes people layer products in the wrong order or use the wrong products that can clog pores or irritate the inflamed skin due to pimples.
So it matters a lot to know the right way to layer your makeup. Also selecting the right product for acne care is the most important step. A gel for acne prone skin can be utilized in such cases.
Why does acne care before makeup matters?
The most common mistake that you can commit while doing makeup is covering pimples without handling it first. You begin by using foundations or concealers that can be used to cover the redness and spots temporarily but it does not solve the problem.
They are not meant for acne care. Using a pimple gel can be quite beneficial before wearing makeup. The gel based formulation helps in reducing the inflammation and redness due to pimples. It helps in reducing excess oil from the skin which gives a clear slate for makeup application.
It helps in preventing breakouts due to makeup and also reduces chance of bacterial infection. It can give quick and fast relief from acne. Also gels are lightweight formulations so they don’t get accumulated on the skin. It does not create a rough texture which is suitable for makeup.
Using a pimple gel can be quite useful as it is lightweight and non sticky.
There is a correct order for layering makeup while taking care of acne.
Step I Cleanse: For beginning with makeup the first thing that matters is a clean canvas. That means your face must be clean and even. For that you need to use a gentle cleanser for your face.
Begin by applying a gentle cleanser on your face which becomes necessary for clearing the dirt, oil, sunscreen buildup. It is suggested not to use any harsh chemical based cleanser as they breach the skin and cause more oil secretion, which tends to worsen the condition.
Step II Pimple gel: Once your skin is completely dry. Start applying a thin layer of pimple gel directly to active blemishes or acne-prone areas by following the product guidelines.
All you need to make sure is that you do not apply an excessive amount of gel on the acne. It can ultimately cause skin dryness and itching instead of healing. Be wise in using a gel. Let it absorb and then only move to the next step.
Step III Let it dry: You have to be patient and wait for at least 3-5 minutes for gel to get absorbed properly into the skin. If you apply makeup or moisturizer quickly after applying salicylic acid gel giving it no time for absorption it could result in pilling, rolling or uneven mixing with makeup. It is better to let the skin dry and then move to the next step.
Step IV Moisturize: An acne treatment tends to leave the skin mostly dry and it creates an unsuitable texture for makeup application. So in order to prevent this you can use a lightweight and hydrating moisturizer. It helps in achieving a smooth and even base for makeup layering. Make sure not to use harsh activities on your skin which is oily or prone to acne.
Step V Sun protection: After using exfoliating agents in skincare routine, your skin quite often gets more sensitive to UV rays. So you really need to use a sunscreen with a broad spectrum especially during the day.
Step VI Primer: A silicon based or mattifying makeup primer can be ideal for achieving an even texture around the pimple areas. It also increases makeup longevity. No need to apply primer in excess as it can lead to pilling.
Step VII colour correct: Before going in with foundation, you can neutralize the red spots on your face by using a right colour corrector and apply it in the right amount and dab gently over the red spots using your fingers or a clown small brush. Do not rub it all over or rub harshly.
Step VIII Base application: Instead of going with high coverage and heavy foundations, go for a light coverage or soft filter foundation. It might be suitable to use under a skin tint or a BB cream also for a flawless base. Apply it gently using your fingers. Do not rub it just dab or pat it. This approach will help achieve an even layer of base. Look for non comedogenic and light weight products.
Step IX Conceal: Use a high coverage concealer that matches your skin tone. Start applying it only on specific spots and blemish areas. Blend the concealer with your foundation base which covers the blemishes properly and evenly.
Step X Set: To ensure the longevity of makeup and avoiding concealer to slip, apply a loose powder to the concealed areas using a puff or a smooth brush. Dust off extra blush. After that if required use a light and hydrating setting spray.
Final Say
You can most certainly apply makeup on breakouts and acne, it should not stop you from feeling good about yourself. You just need to be careful while layering the makeup and follow the right steps.
Also the right products matter a lot. Do not use dirty brushes and beauty blenders. No need to layer thick foundations.Avoid sleeping with your makeup on. Just follow the right routine and your makeup can still look flawless even with breakouts.